Introduction
The third key component in creating an effective school timetable is setting up your classes. Classes represent the different student groups in your school, and their proper configuration ensures that all students receive the appropriate schedule.
Before starting this step, make sure you have:
- Completed the general information setup
- Added all your school subjects
- Added all your teachers
- Determined how your students are divided into classes and sections
- Identified any special requirements for specific classes
Understanding Class Structure
In TimetableMaster, a class represents a group of students that typically move together from subject to subject:
- Primary/Elementary Schools: Classes often stay together for most subjects (e.g., Grade 3A, Grade 4B)
- Secondary/High Schools: Classes may be organized by grade and stream/track (e.g., Grade 9 Science, Grade 10 Humanities)
- Sections: Subdivisions of a grade level (e.g., Grade 7A, Grade 7B, Grade 7C)

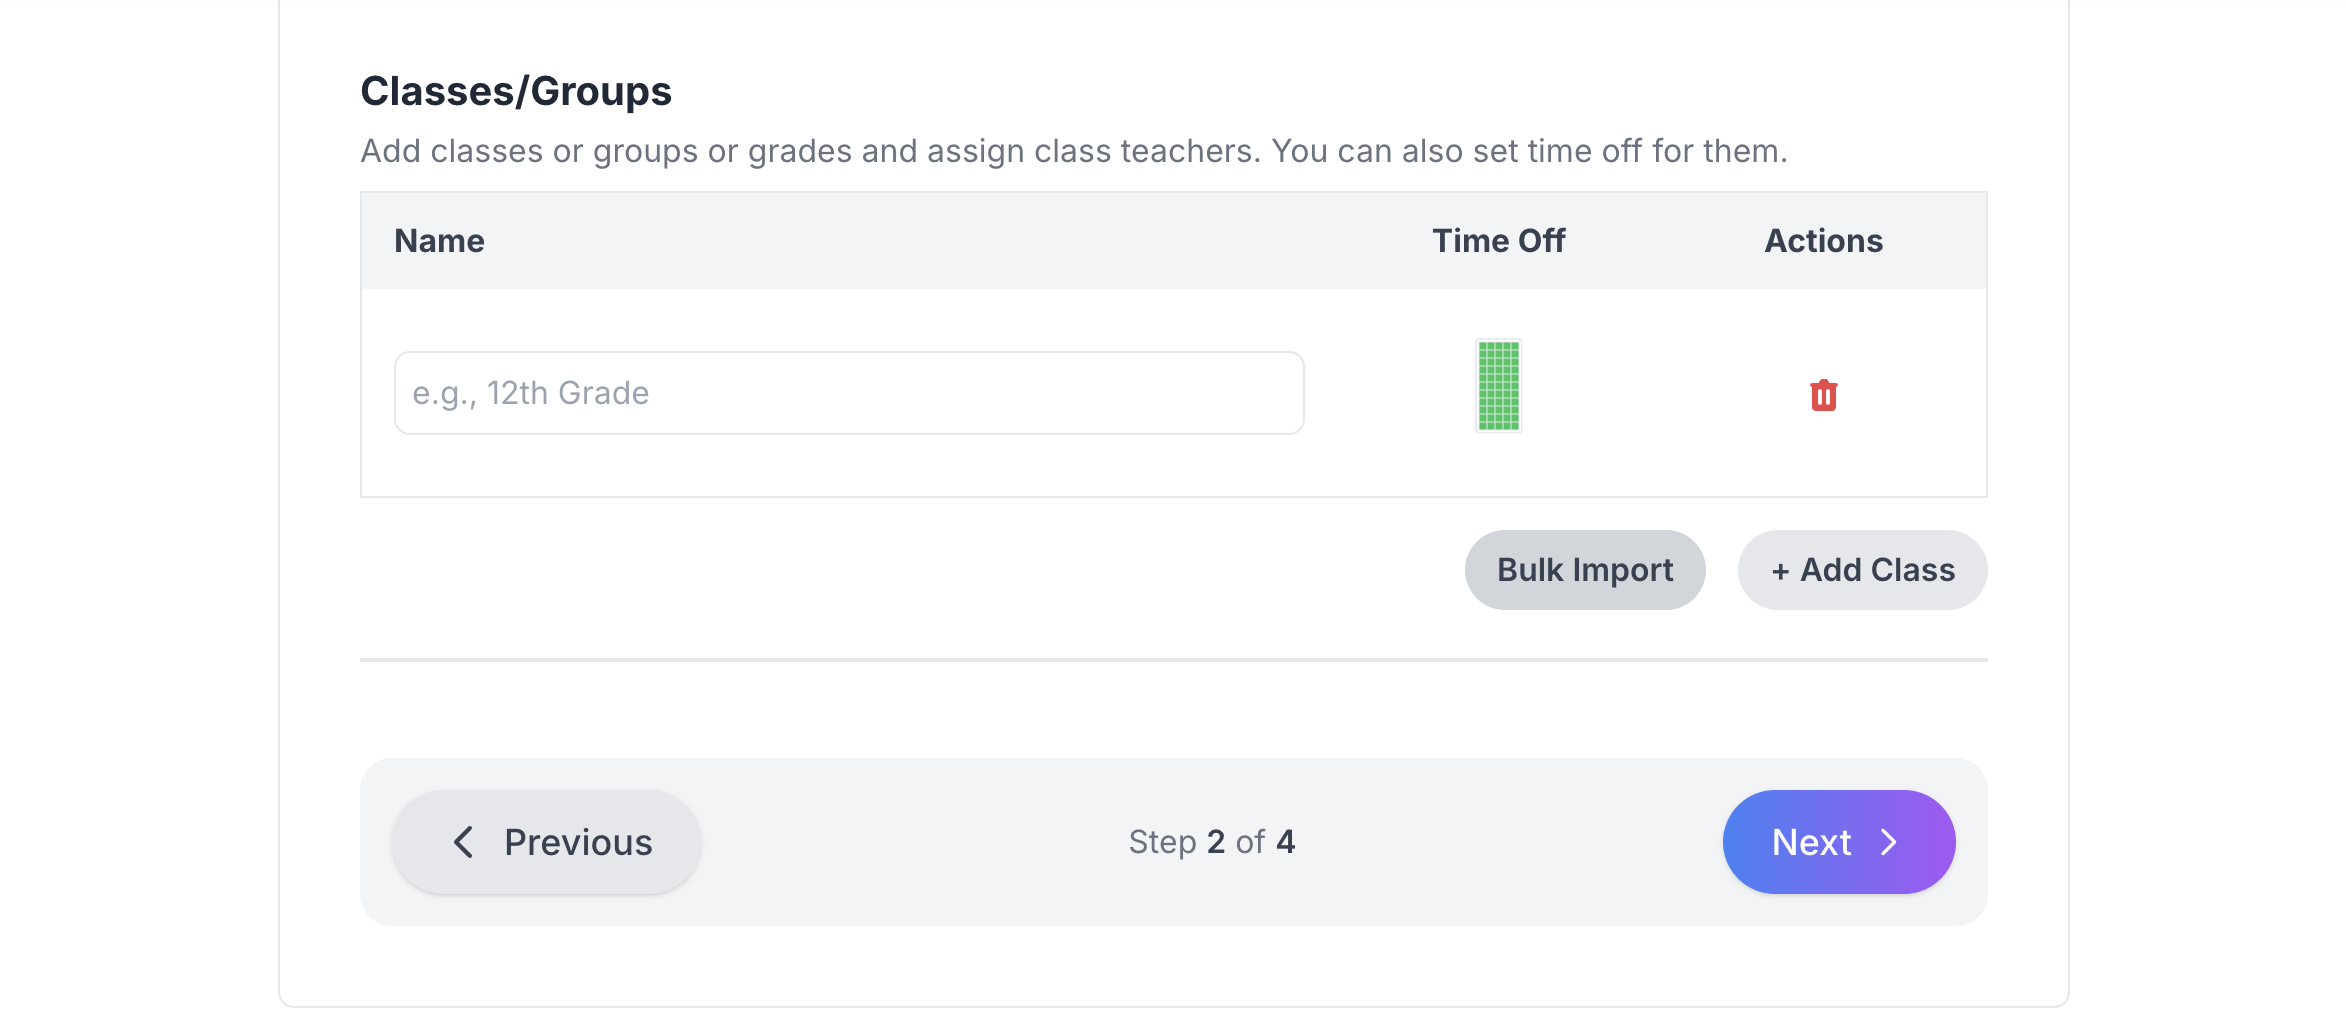
Class Setup Interface
Adding Classes
Key Class Parameters
When adding classes to TimetableMaster, you'll need to provide:
- Class Name: A descriptive name for the class (e.g., "Grade 8A")
- Short Name: Auto generated (An abbreviated version for display in the timetable - e.g., "8A")
Individual vs. Bulk Addition
Like with subjects and teachers, you can add classes individually or use bulk import:
Individual Addition
Best for schools with few classes or when making minor adjustments:
- Click "Add Class" button
- Fill in all required fields
- Set any special requirements or restrictions
- Save the class
Bulk Import
For schools with many classes, the bulk import feature saves time:
- Click the "Bulk Import" button
- Paste data from Excel or CSV file
- Review and confirm the import
Sample CSV Format
Grade 7A
Grade 7B
Grade 8A
Grade 8B
Grade 9A
When naming classes, use a consistent format that clearly indicates both the grade level and section. This improves readability in the final timetable.
Class Settings and Constraints
Time-Off Settings
Classes may have specific timing constraints:
Examples of class time-off needs:
- Physical Education slots for classes with many athletes
- Early dismissal days for certain grades
- Late start for senior classes
- Reserved times for school-wide activities
To set time-off for a class:
- Click the "Time-Off" button for the specific class
- Select days and periods when the class should not be scheduled
- Add a reason for future reference
Split Classes and Combined Classes
TimetableMaster supports various class arrangements:
Split Classes
When a class is divided for certain subjects:
- Language options (some students take French, others Spanish)
- Elective subjects where students have choices
- Ability grouping (advanced/standard math groups)
You can do this later while adding lessons.
Combined Classes
When multiple classes are taught together:
- Small senior classes combined for efficiency
- Special workshops or seminars
- Team teaching arrangements
You can do this later while adding lessons.
Review and Verify
Before proceeding to the next step:
- Ensure all classes have been created
- Confirm any special requirements are correctly set
Next Steps
With your classes properly configured, you're now ready to create lessons that connect teachers, subjects, and classes together.
Before Moving On, Ensure You Have:
- ✓ Added all classes in your school
- ✓ Configured any special requirements or time-off constraints
- ✓ Reviewed the complete class list for accuracy